Before adding items, customize your inventory by adding columns. To learn how to do this, follow this article.
To manually add an individual item:
- Click +New item.
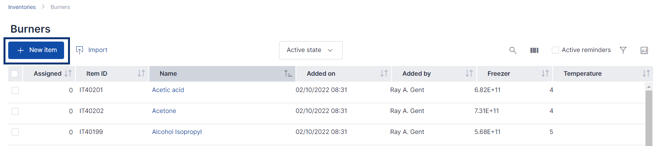
- Add the item name
- Fill out the information in each column.
- Click Save.

To Create an item while in a task:
- Click "create item" in the Assigned items tab

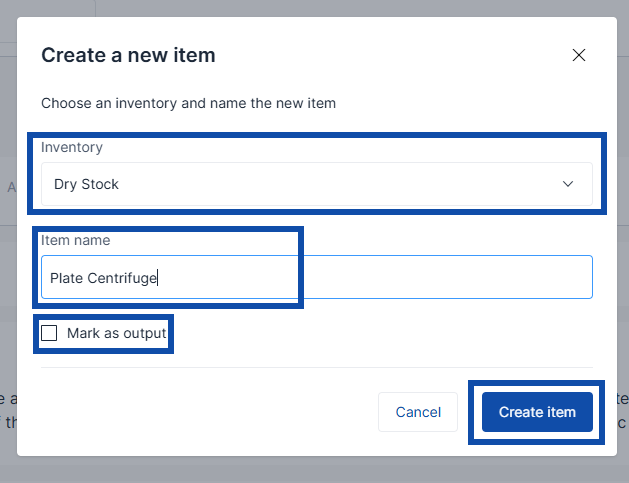
- Select the inventory you want to add the item to
- Add the item name
- Select whether the item is an Output of the task.
- Click "create item"

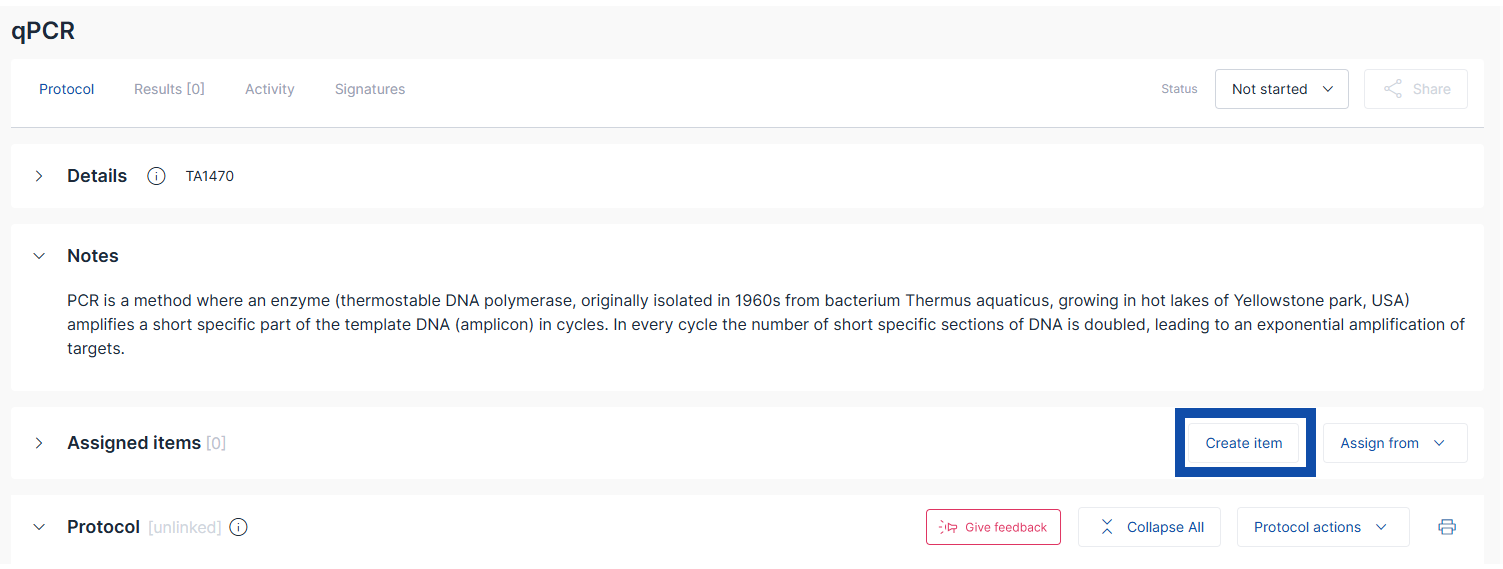
Once created, the item will be automatically assigned to the Task where it was created and the card will appear, allowing you to fill in additional column details.
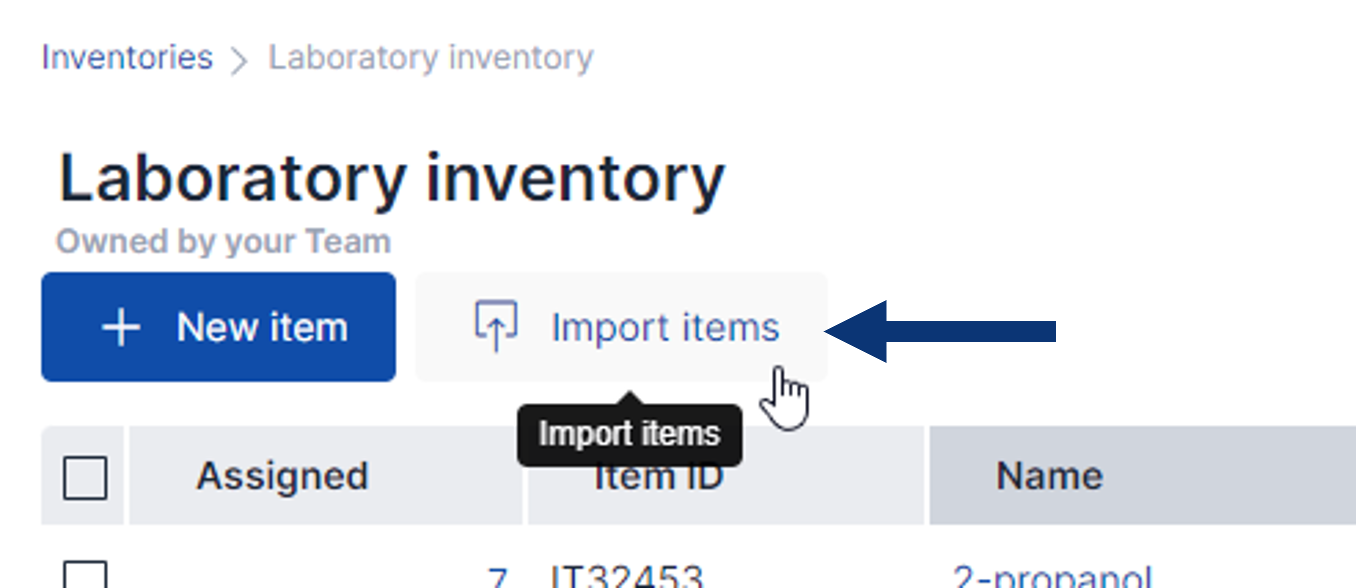
To import a file containing item data:
Review the Inventory Import Best Practices article for detailed guidance on structuring your item import file for a successful import and about all the import page icons and indicators.
- Create the same number of columns in SciNote that you wish to import from your Excel (.XLSX), .CSV, .TXT, or .TSV file.
- Click on the Import items button.
- A pop-up will provide more info and instruct you to choose a file.
- You can click Import to select a file from your device, or simply drag and drop an import file into the blue box area

- You can click Import to select a file from your device, or simply drag and drop an import file into the blue box area
Make sure the first row of your import file includes the names of the columns from your SciNote Inventory!
You can upload up to 2,000 items at a time. If your file contains more items, we suggest splitting it into multiple files.
*When ADDING new Items to a SciNote Inventory, make sure the 'Item ID' column is blank. Keep the 'Item ID' data only if you wish to EDIT an existing Item with that existing 'Item ID'.
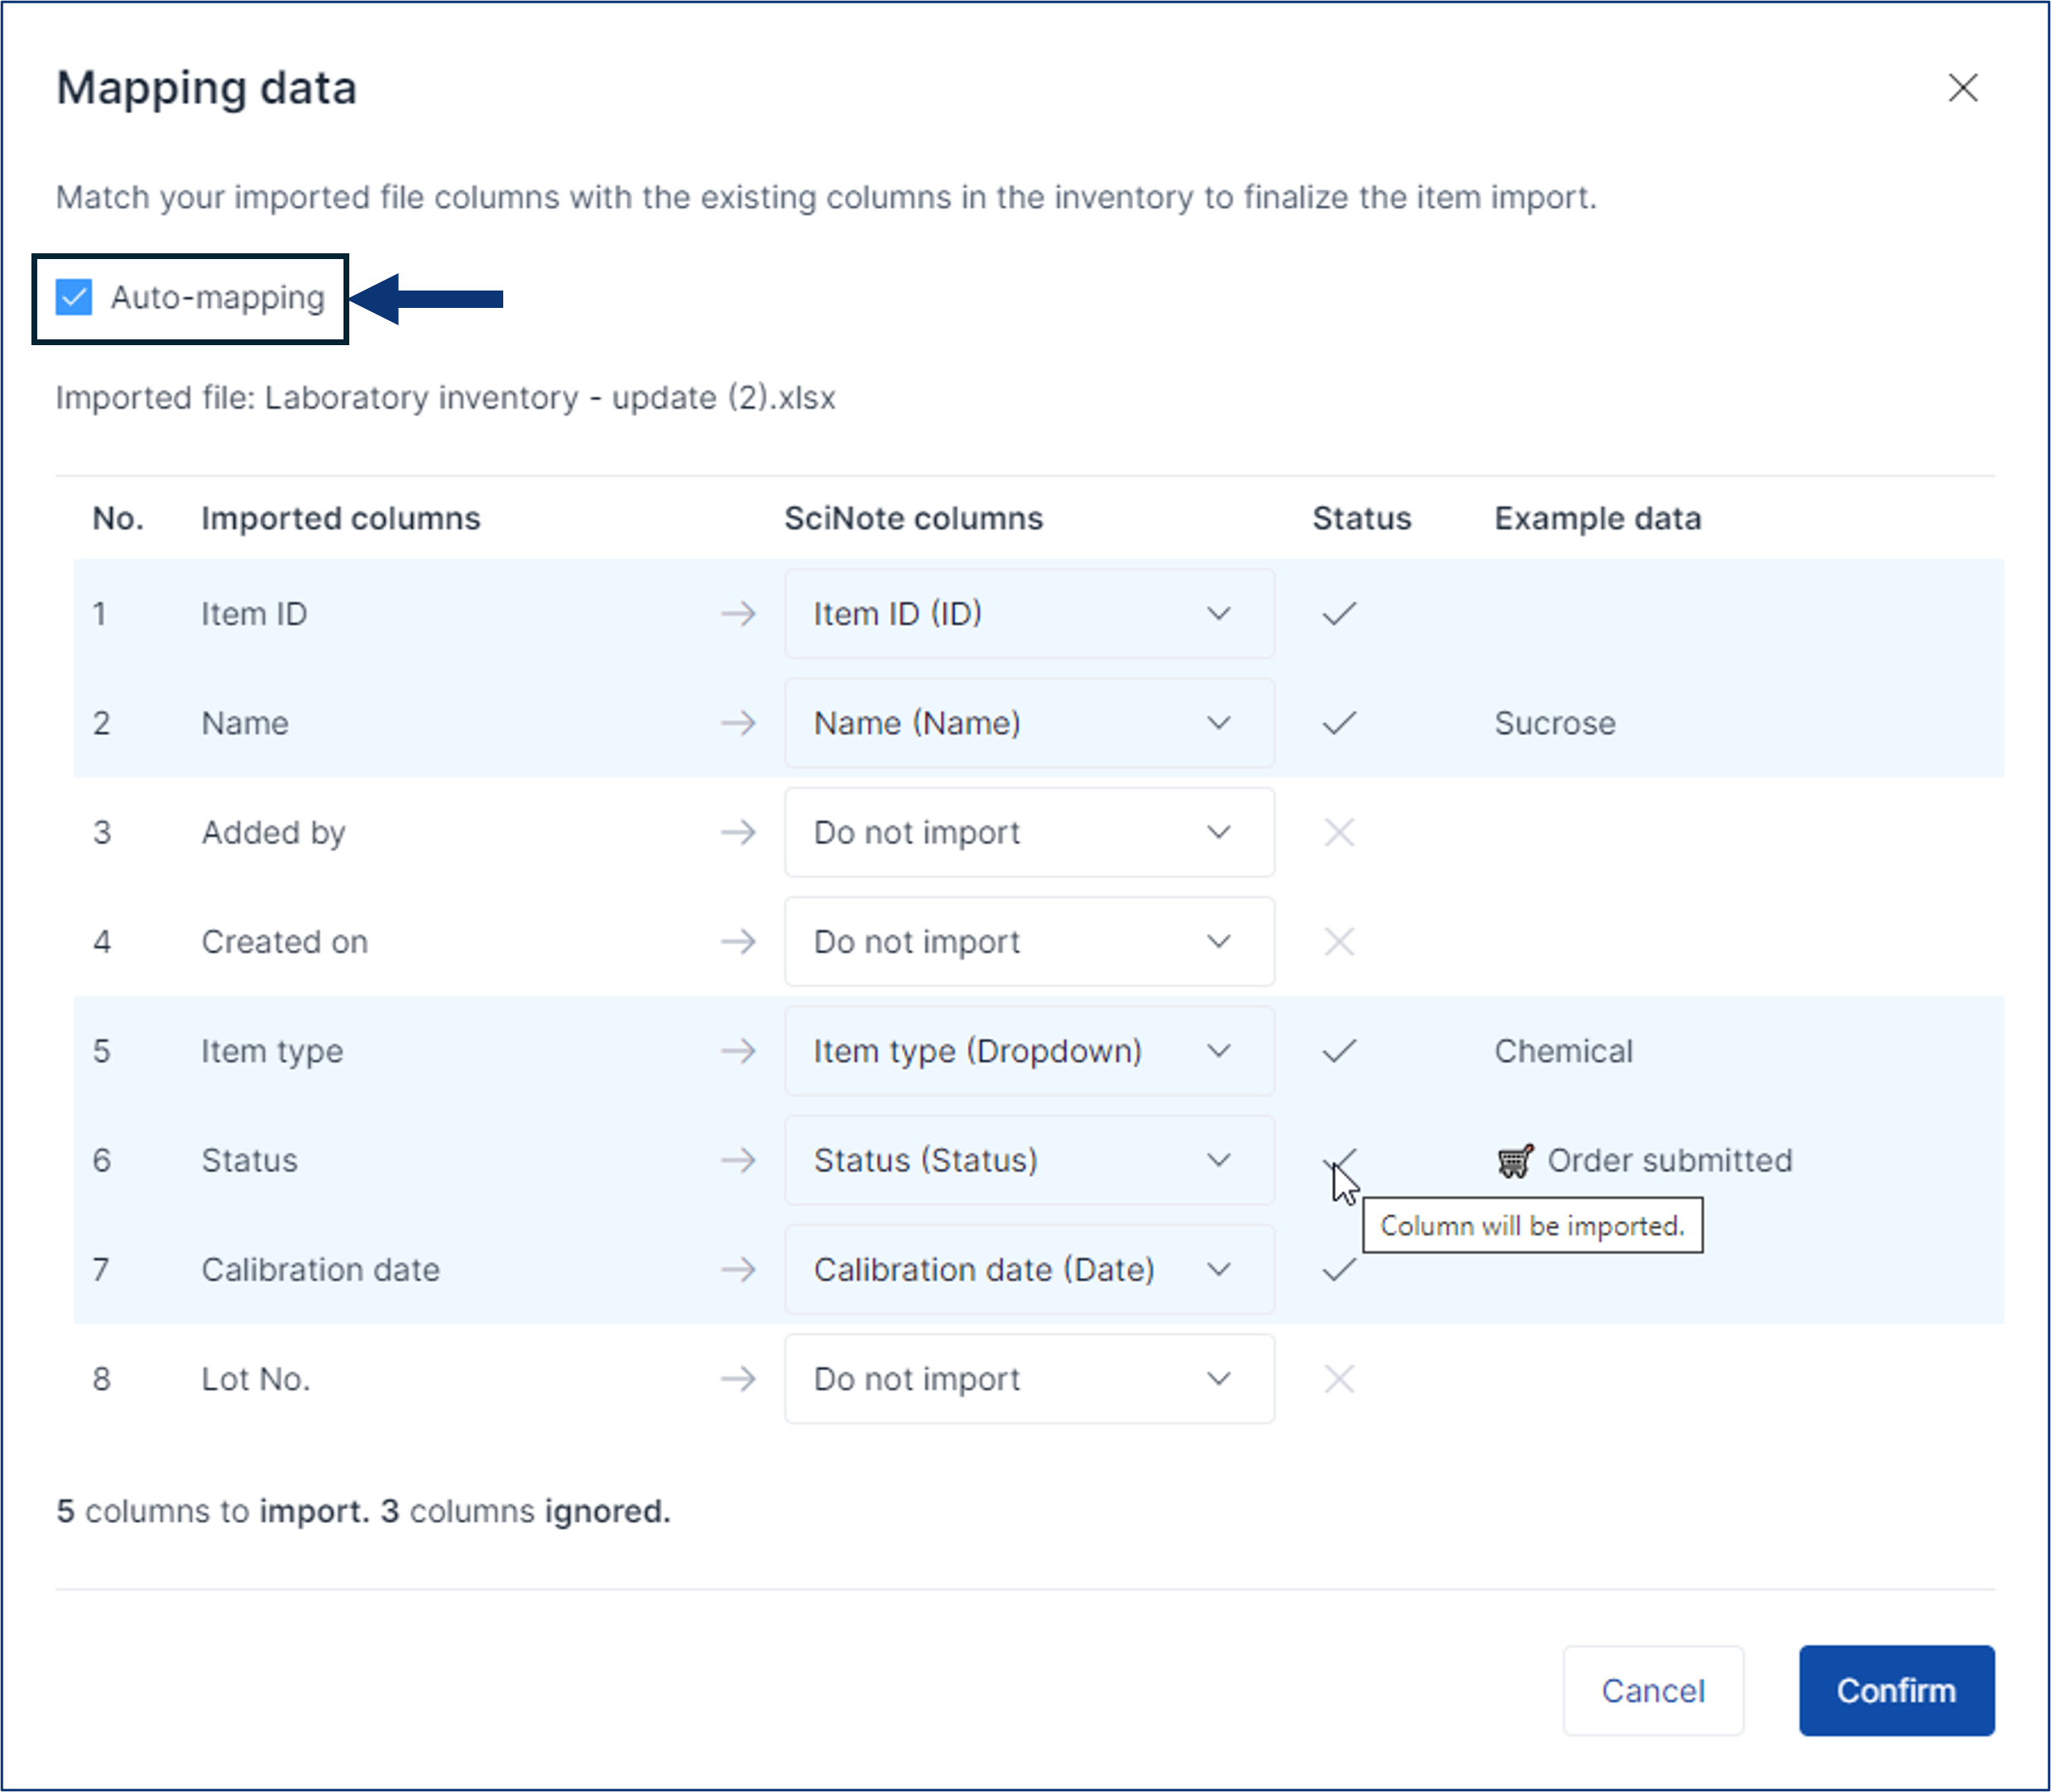
4. Map data to match the columns of your uploaded file to the columns in the SciNote inventory.
-
-
SciNote will automatically map the columns by matching column names from your imported file with the ones in your SciNote inventory. Review the mapped columns and click Confirm to continue with the import.
-
You can unselect the Auto-mapping function in the upper left and map the columns yourself manually instead
-
5. Review and verify the Import preview.
- This popup provides a preview of pending changes from the imported file. At this stage, you can still cancel the import by clicking Back.
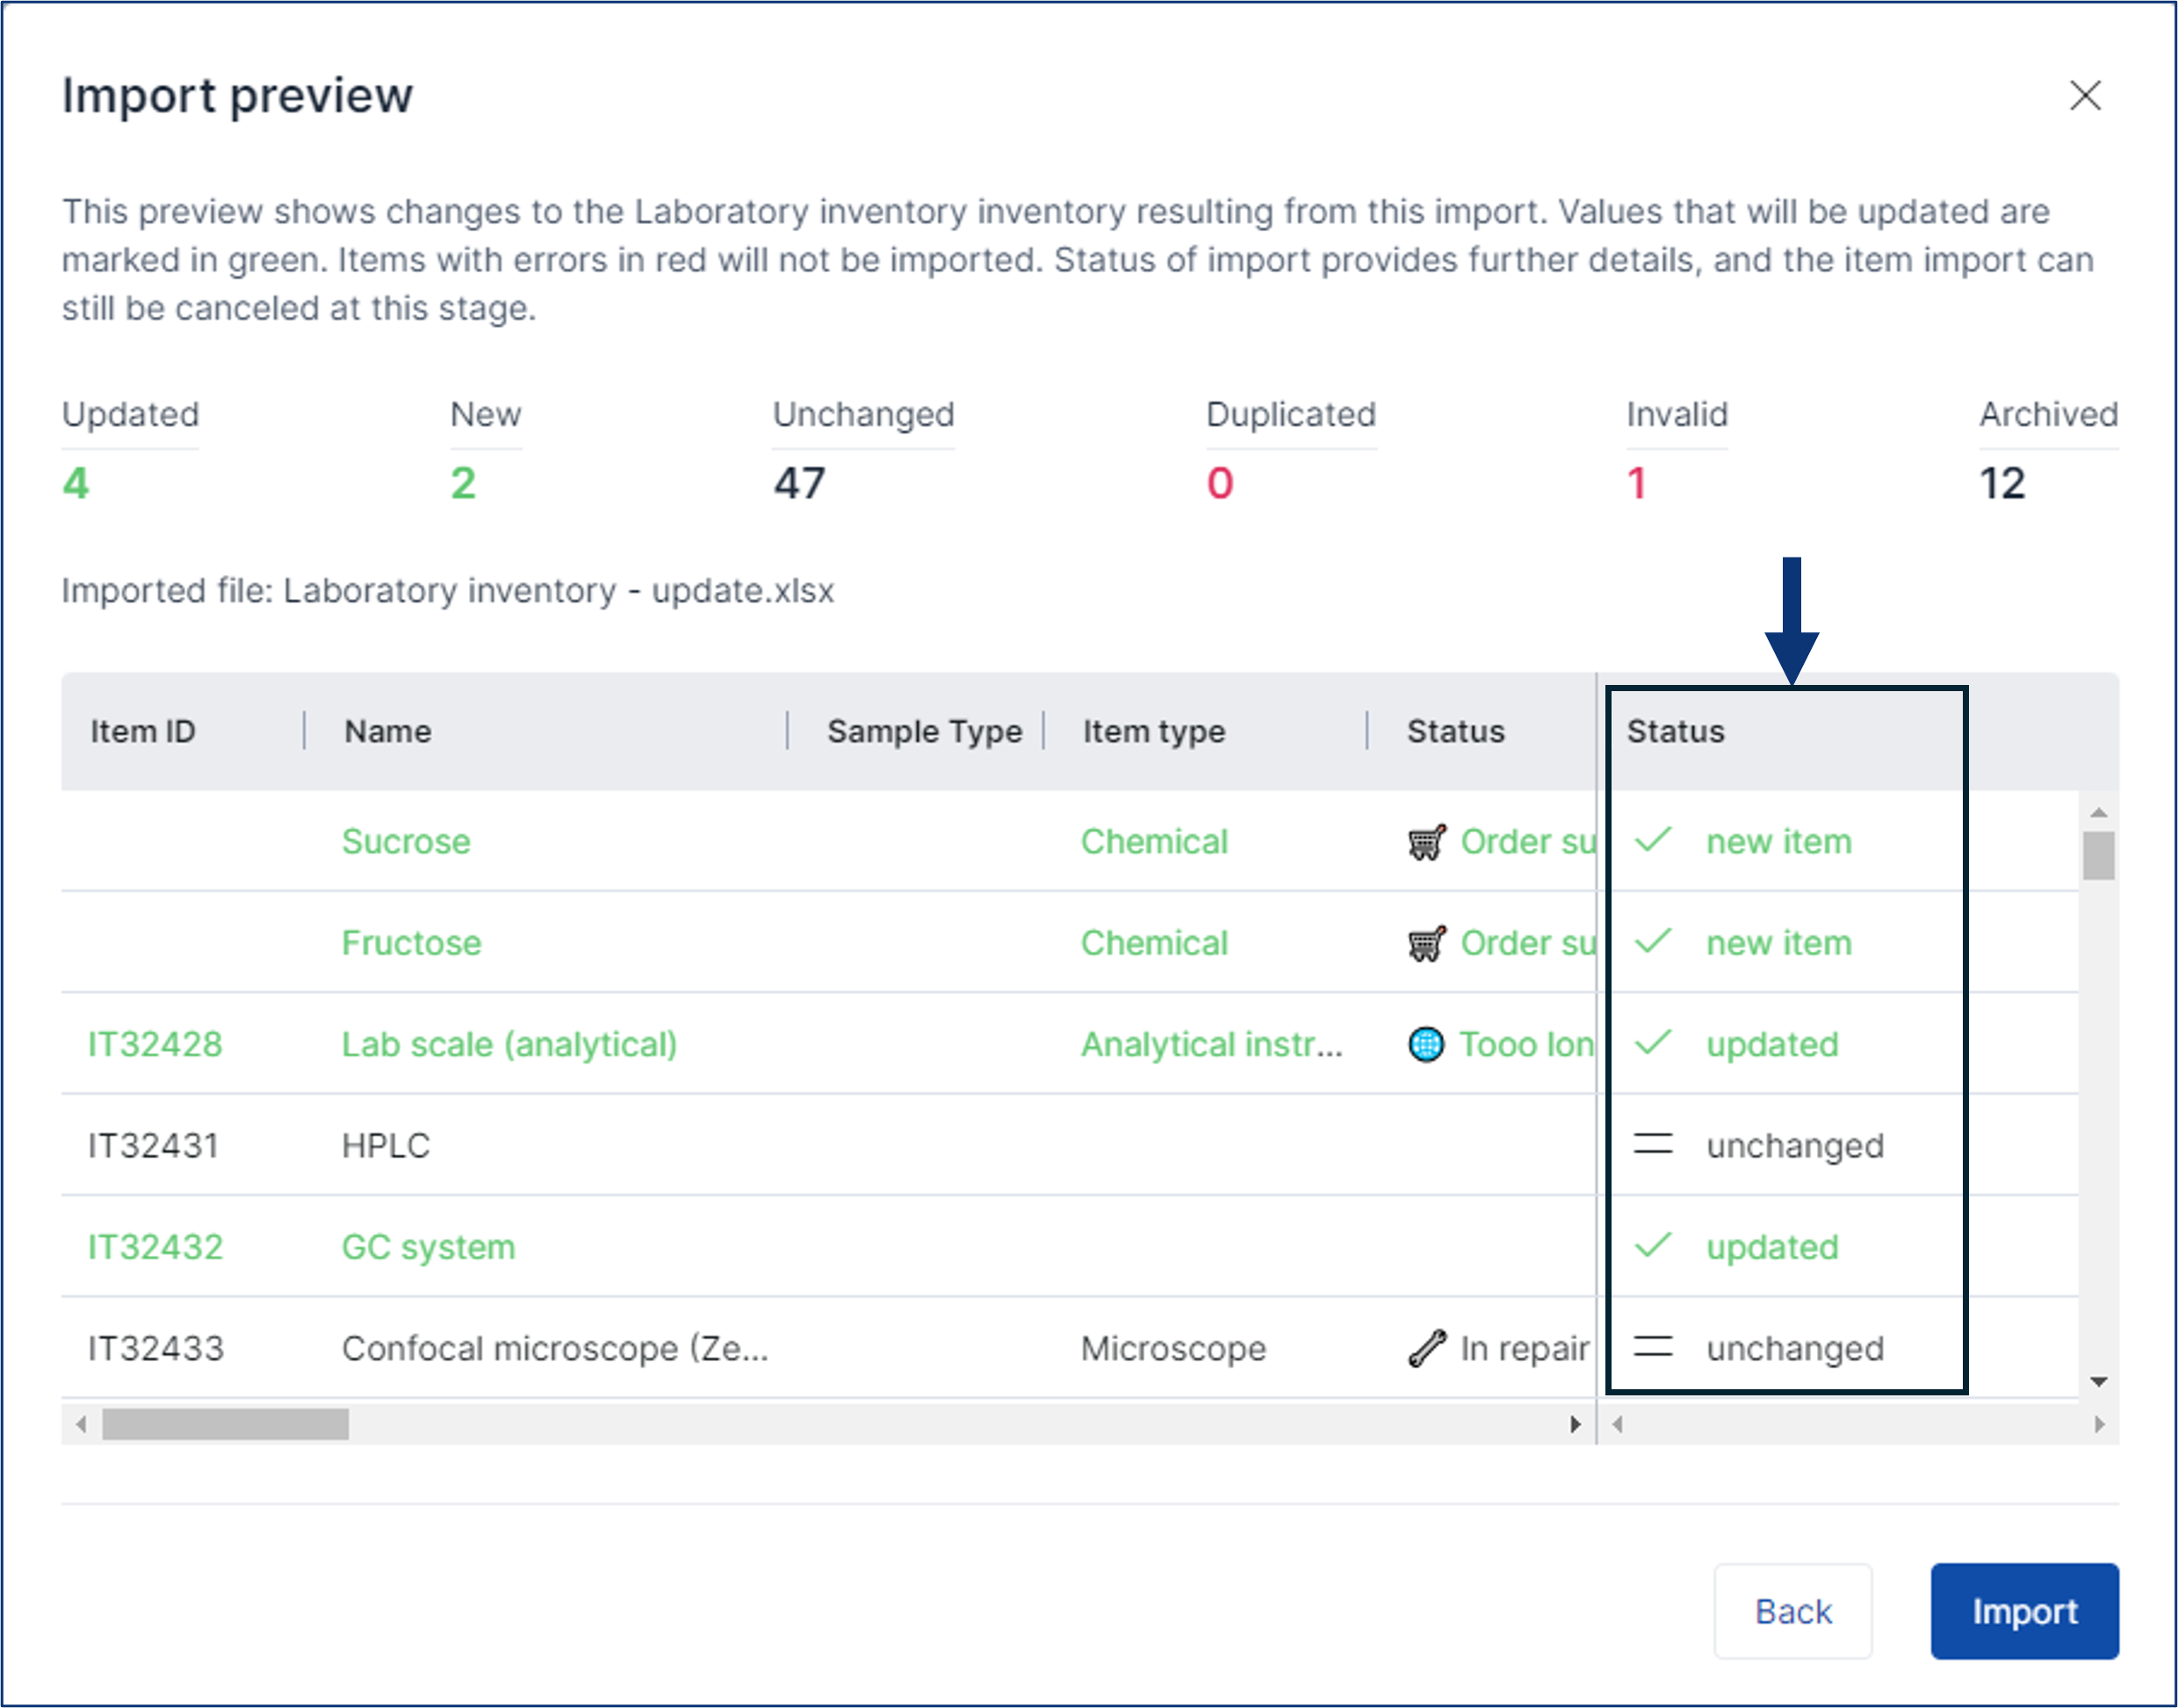
6. Click Import to finalize the import changes to your inventory items.
IMPORTANT: Please note that when bulk updating items via import, the data in your import file will override the existing data in your SciNote inventory!
This action can’t be undone. We recommend exporting your current inventory data beforehand in case you need to revert any changes.
For more information, check out the video below:
If you have any questions, please do not hesitate to contact us at support@scinote.net. For more info about our Premium plans, request a quote.