Zebra offers two label design softwares: ZebraDesigner Essentials 3 (freely available) and ZebraDesigner Professional 3 (paid).
In this article, we will go through the steps of creating ZPL label templates using the freely available ZebraDesigner Essentials 3.
ZebraDesigner programs are not compatible with macOS. Consult your IT administrator on how you can run the software on your Mac computer (e.g., using virtual machine), or use another ZPL design software program that is capable of outputting ZPL files.
*Customized ZPL (label) templates are a paid inventory add-on that must be enabled by the SciNote team for your account. Custom label templates can be bundled with other inventory add-ons like Stock Management or Storage Locations. Reach out to your Customer Success Manager for more info.
If you don't require customized label templates, check out SciNote's out-of-the-box Zebra label templates, which come at no extra charge. Read more here.
To create a new label in ZebraDesigner Essentials 3:
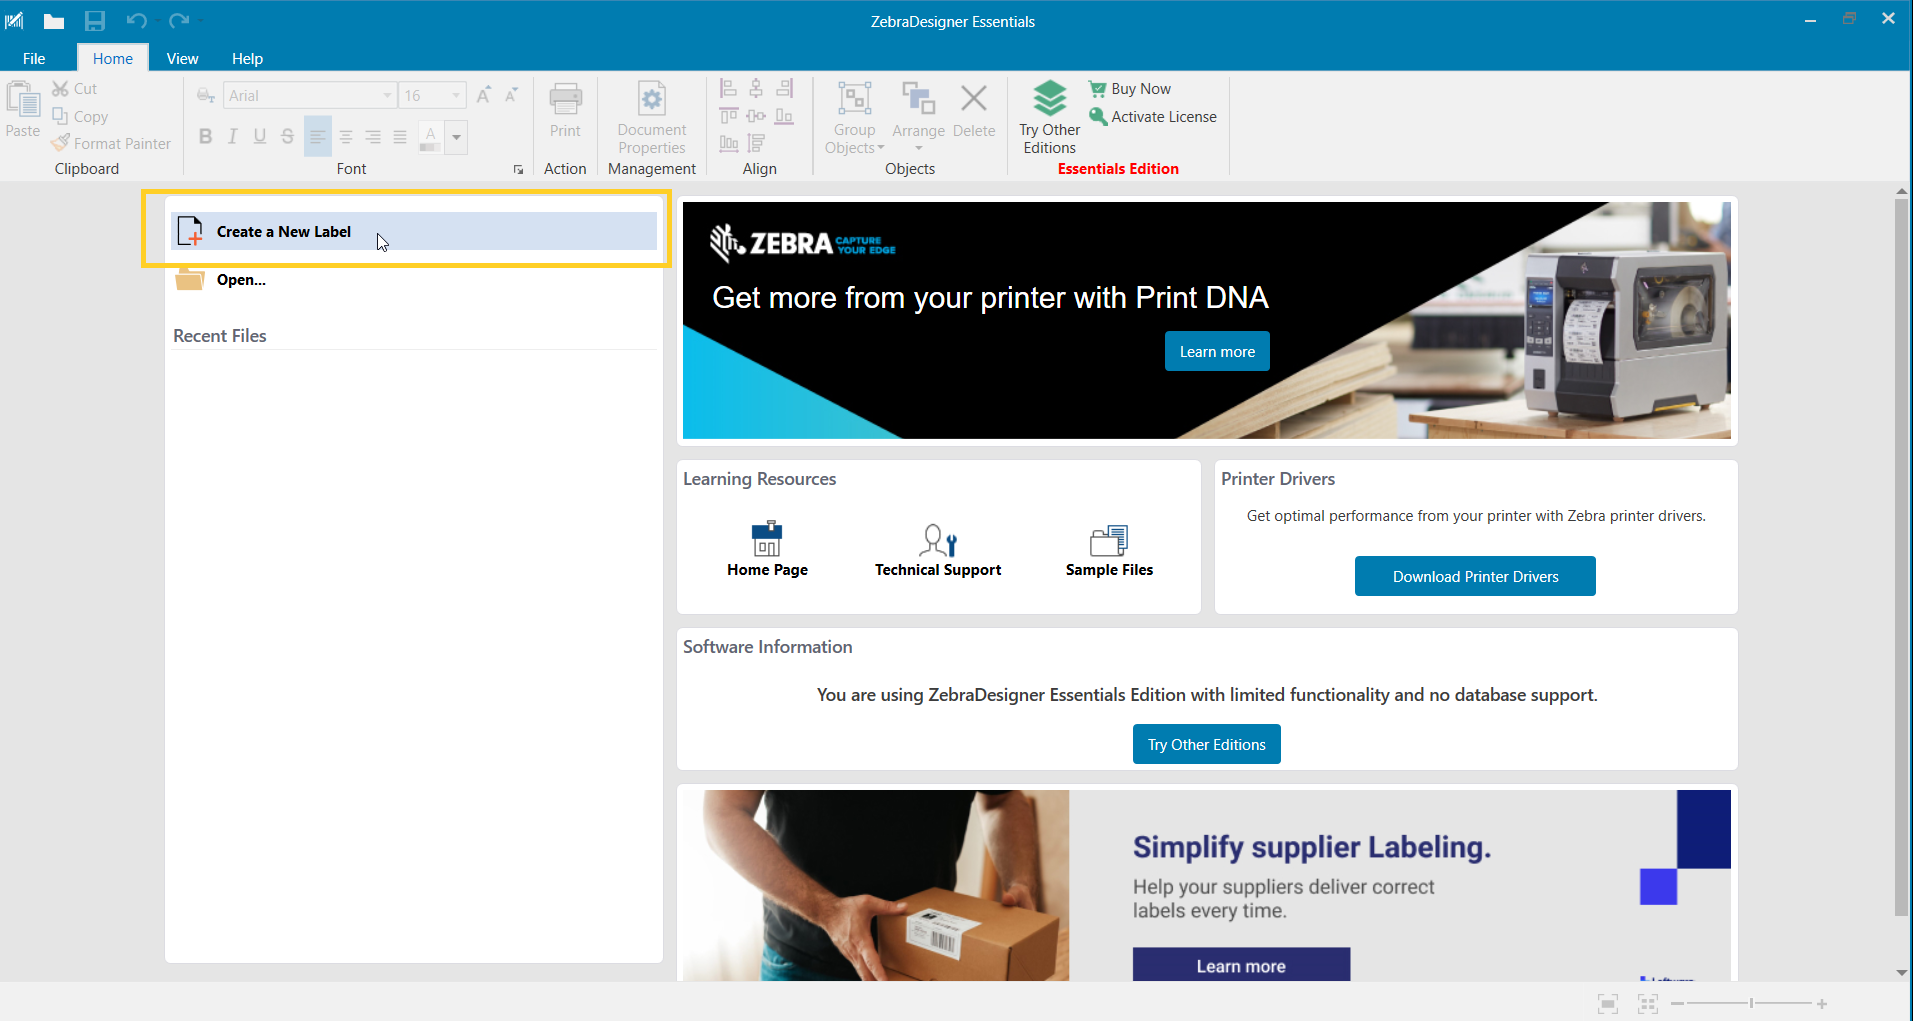
- Start ZebraDesigner Essentials 3 and click on “Create a New Label.”
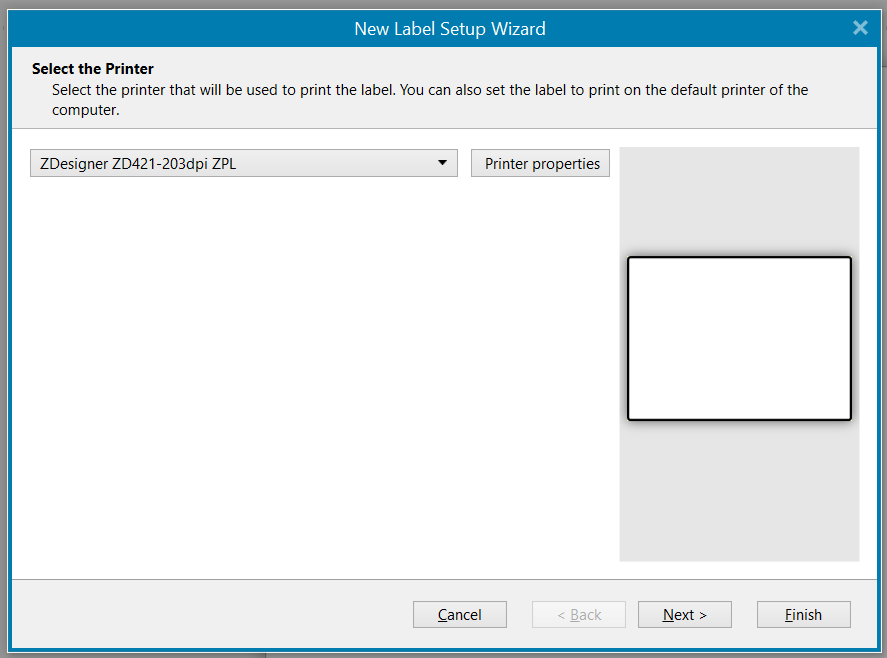
- Select your Zebra printer and click 'Next'
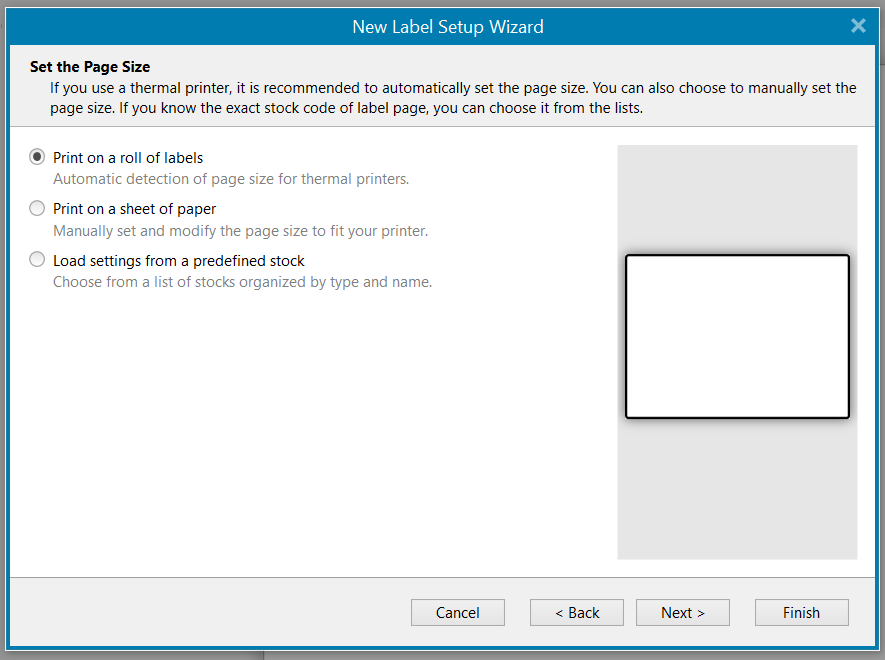
- Select the type of labels you are using (most commonly it’s a roll of labels) and click “Next.”
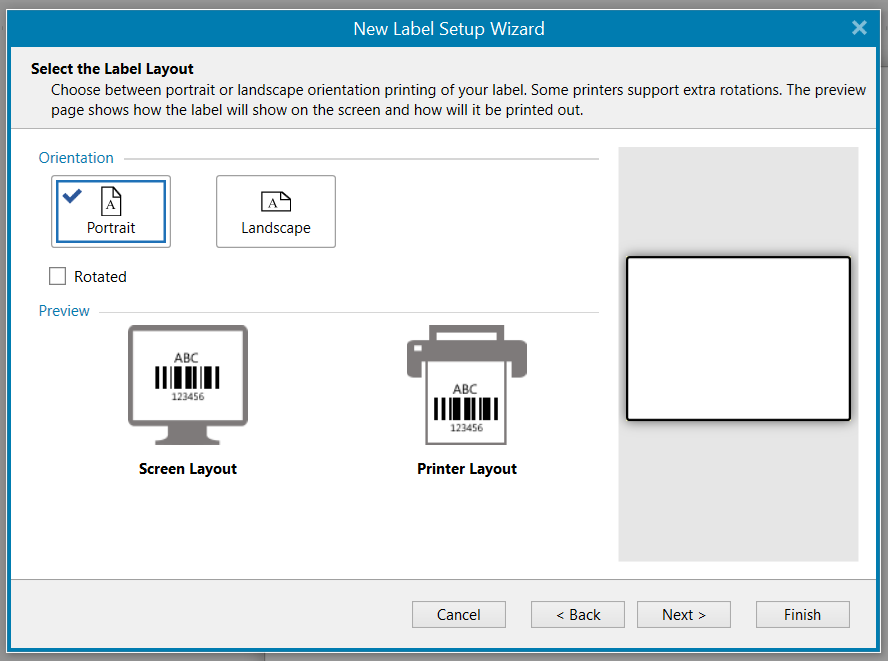
4. Select the label layout (typically, the default portrait setting works well) and click “Next.”

You can also add “field codes” to your label template that correspond to specific information within SciNote. These field codes have specific text within brackets (e.g., , and act as placeholders that SciNote would recognize.
At print time, SciNote will replace these codes with actual information from inventory items within SciNote. These field codes can also be introduced after you add the label template into SciNote. We will go over field codes in more details in a later section.
7. In the example below, we added the following items on the label from top to bottom:
- Text; Data: Fixed data “Property of SciNote”, Font “Zebra 0” 8. At print time, this exact text will be printed on the label.
- Barcode; type: QR, Source: fixed data “”. At print time, SciNote will dynamically encode the inventory item’s ID into the QR code. When you will scan the code with a barcode scanner, it will display the actual Inventory item ID.
- Text; Data: Fixed data “ID ”, Font “Zebra 0” 8. At print time, SciNote will dynamically replace the field code “” with an actual inventory item name, so the information on the printed label could for example be “ID: IT1234”
- Text; Data: Fixed data “ID ”, Font “Zebra 0” 8. At print time SciNote will dynamically replace the field code “” with an actual inventory item ID, so the information printed on the label could for example be “DNA Sample 031”.

8. Print the label to File and save the .prn file to your computer.
9. Open the .prn file in NotePad. The text in the file is the Zebra Programming Language (ZPL) code for your label template.
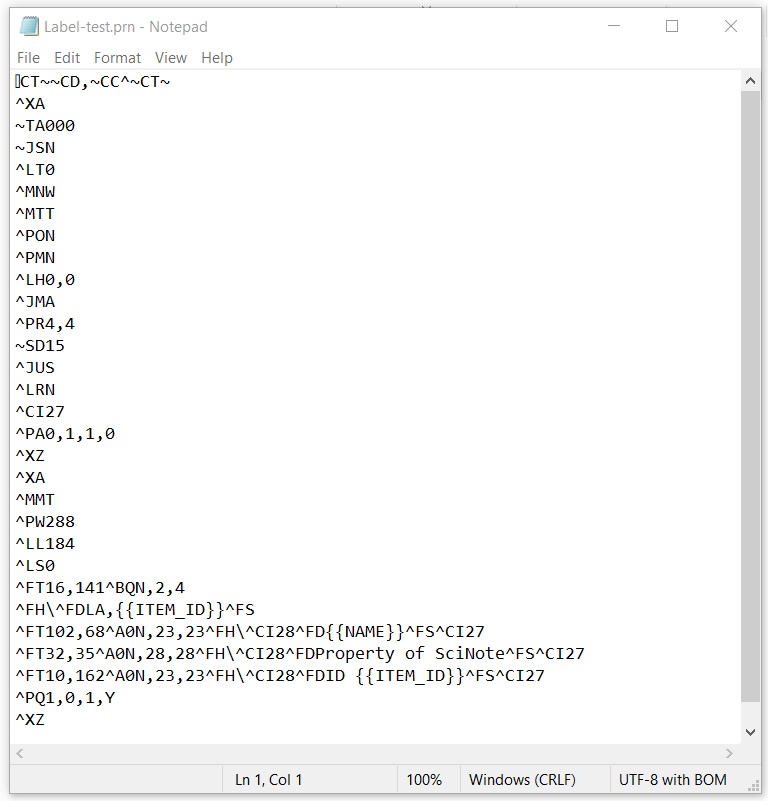
10. Create a new label template in SciNote using the ZPL code from the .prn file.
- Open “Templates” and then “Label templates” in SciNote, and click on “create a new Label template.”
- Copy and paste the entire ZPL code from .prn file generated in ZebraDesigner into “ZPL template code” field in SciNote. Then, name the label and add a label description if required. Click “Save template code”. You label is now listed in SciNote label templates and is available for printing.
- To preview your label, expand “Options” and enter your label dimensions and your printer’s dpi. Consult a person in charge of the label printer to help you get this information.
- If you are familiar with ZPL code, you can edit the ZPL code directly in the “ZPL template code” field in SciNote. You can then save changes and regenerate a preview of the label.


Inserting SciNote inventory data placeholders into a ZPL template
SciNote understands specific pieces of text as placeholders for inventory item columns. We call them field codes.
To add specific field codes into your label template, open the label template in “Label templates” screen by clicking on a listed label template, click on the ZPL template code field, and you can start editing it.
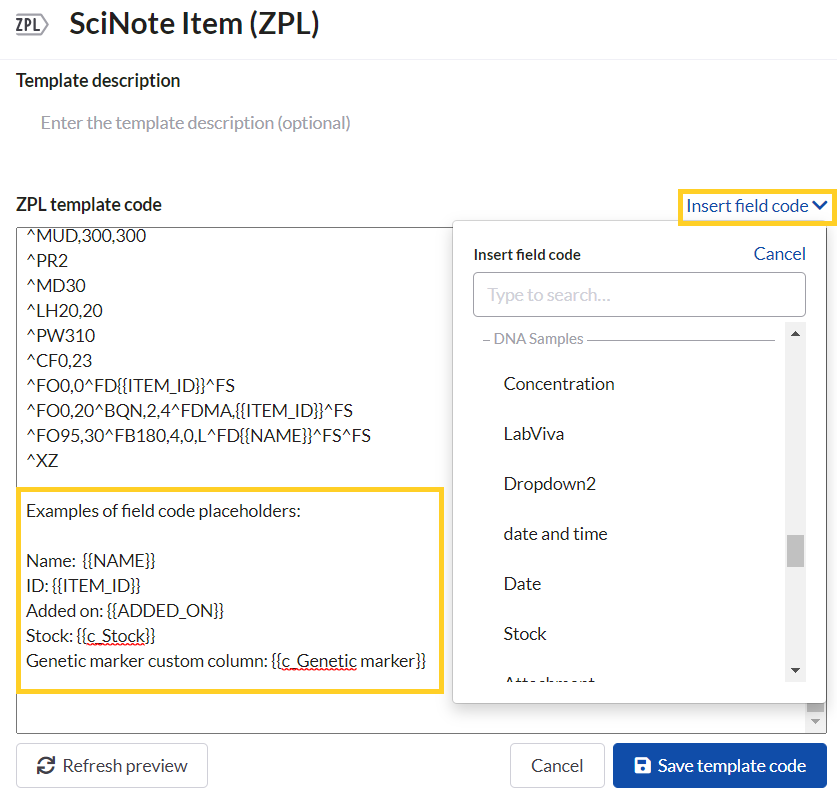
Open the Insert field code dropdown. This dropdown lists all the columns for which you can add field codes onto labels. Columns are grouped by inventories to help you find the one you need faster.
To insert a field code to your label template, simply click on the name of the column in the dropdown. SciNote will insert this code into the ZPL template code at the cursor position.
You can add several field codes to your label template. Do make sure that the field codes are from the same SciNote inventory. This is because the label contains information of only one inventory item; field codes from other inventories that do not exist in the inventory of this particular item will fail to print.
Examples of field codes are:
Item name:
Item ID:
Added on:
Stock:
Genetic marker custom column:
The structure of field codes for custom columns is based on column names, with added prefix “c_” before the column name and brackets – after the column name.
At print time, SciNote will replace these codes with actual inventory item data.
If you have any additional questions, please, do not hesitate to contact us at support@scinote.net. For more information about the Premium plans, please request a quote.