To assign an item from an inventory to a task using the Assign from option:
- Start by entering the task in which you want to make the assignment.
- In the assigned item's portion of the protocol, click the Assign from dropdown.
- From the dropdown, Select the inventory which contains the item(s) you wish to assign.
- Select the item(s) by ticking the boxes in front of the item name,
- Choose whether you would like to assign these items to the Task or to Task & Downstream. Task & Downstream will assign the items to the entire workflow that comes downstream from the current task.

The assigned item(s) will now appear directly on the task under Assigned Items. The simplified view of the items can be expanded to a full-screen table containing the column information by clicking the Expand button in the top right corner.
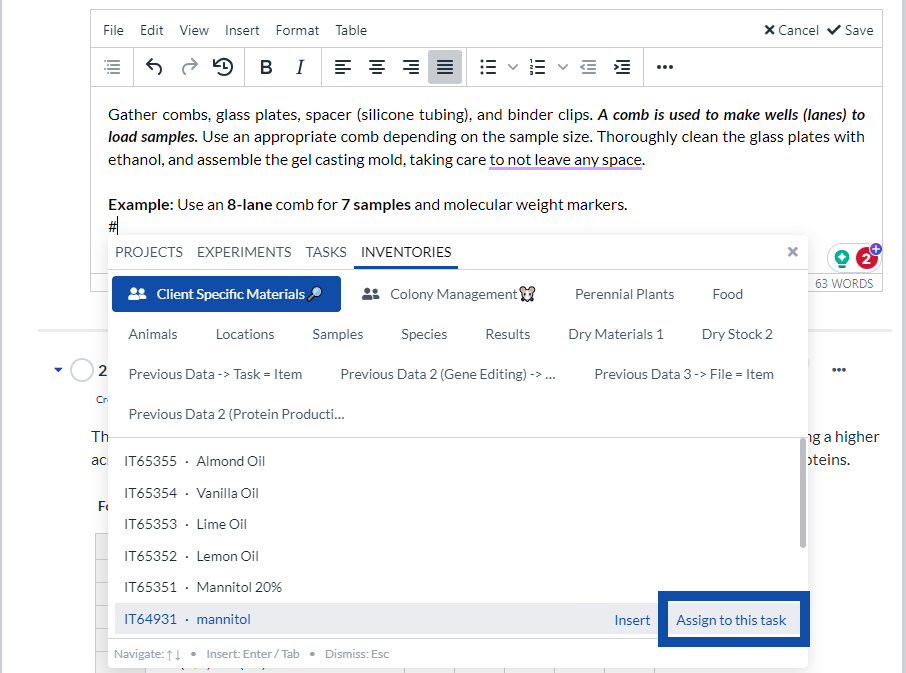
To assign an item from an inventory to a task using the # feature:
- Type the "#" symbol in the step, notes, protocol description, or results.
- Select the Inventories tab in the popout box and begin typing the name of the item.
- Hover over the item you would like to add and click Assign to this task.
To Assign an item when inside the inventory:
- Select the item you would like to assign to a task
- Click Assign to task in the bottom toolbar.
- In the popout, choose the project, experiment, and task to which you want to assign the item by selecting them from the drop-down menus.
- Click the blue Assign to this task button.

How to take an Inventory Snapshot:
You can take a snapshot of the assigned items at any time to keep a record of their state at the moment of snapshot creation. Depending on how you update your inventories, this could be a great tool to capture any change made to the item since it was originally assigned.
- Click the expand button in the top right corner to view the assigned items in a table format.
- In the top left corner, click View versions.
- In the slide out window, click Create snapshot.

You can switch between the live version of the assigned items (AKA what details are currently in the inventory) or a snapshot and set the preferred version as the default view on the task for each individual inventory.
- Select either the Live version or the snapshot you wish to display.
- Click Set as default view
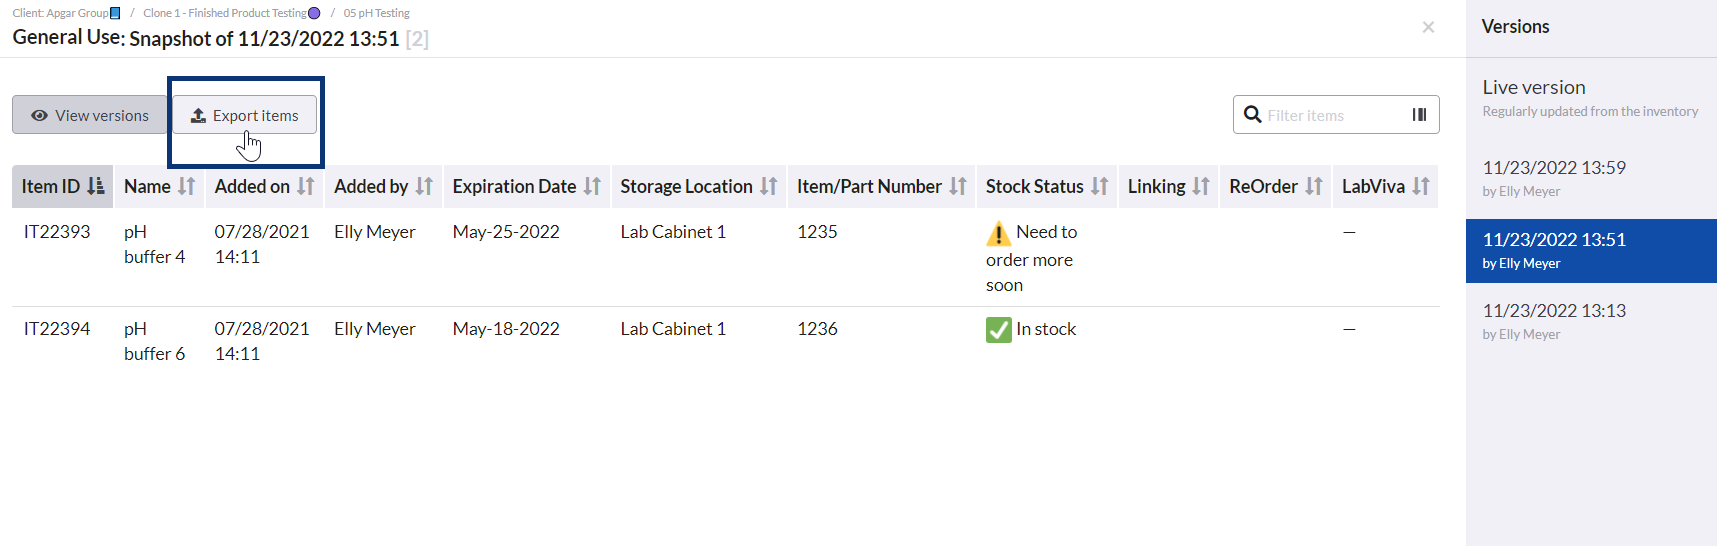
When a task is locked, a snapshot of the assigned items is automatically taken and set as the default view.
Locking the task prevents any further changes to the items that are assigned to the task. However, the column information of these items can still be edited in the inventory. The snapshot serves as a reference of the information that was current at the time the task was locked.
You can also export each snapshot you have created as seen in the image below.
For more information, check out the video below.
_____________________________________________________________________________________ If you have any additional questions, please, do not hesitate to contact us at support@scinote.net. For more information about the Premium plans, please request a quote.