Single Sign-On (SSO) authentication allows users to log in to SciNote and sign off on SciNote Tasks using their SSO credentials for your organization's SSO provider.
SciNote currently supports the following SSO providers:
- Microsoft Entra ID (formerly called MS Azure Active Directory)
- Open ID Connect
- SAML
- Okta
Only Organization Administrators can access the 'Organization' settings page in SciNote to set up and configure SSO.
*SSO setup may require support from your organization's IT Team. The process does require configuration changes in both your SciNote account ('Organization' settings page) and within your SSO provider settings.
Enabling SSO
- In the SciNote application, navigate to Settings > Organization.

- In the Organization page, scroll down to the SSO section and expand the field for the SSO provider used by your organization.

- Next complete the required fields by inputting the data retrieved from your SSO provider.
- If you'd like to enable SSO for the electronic signatures in SciNote, select the 'Enable signing tasks with SSO'.

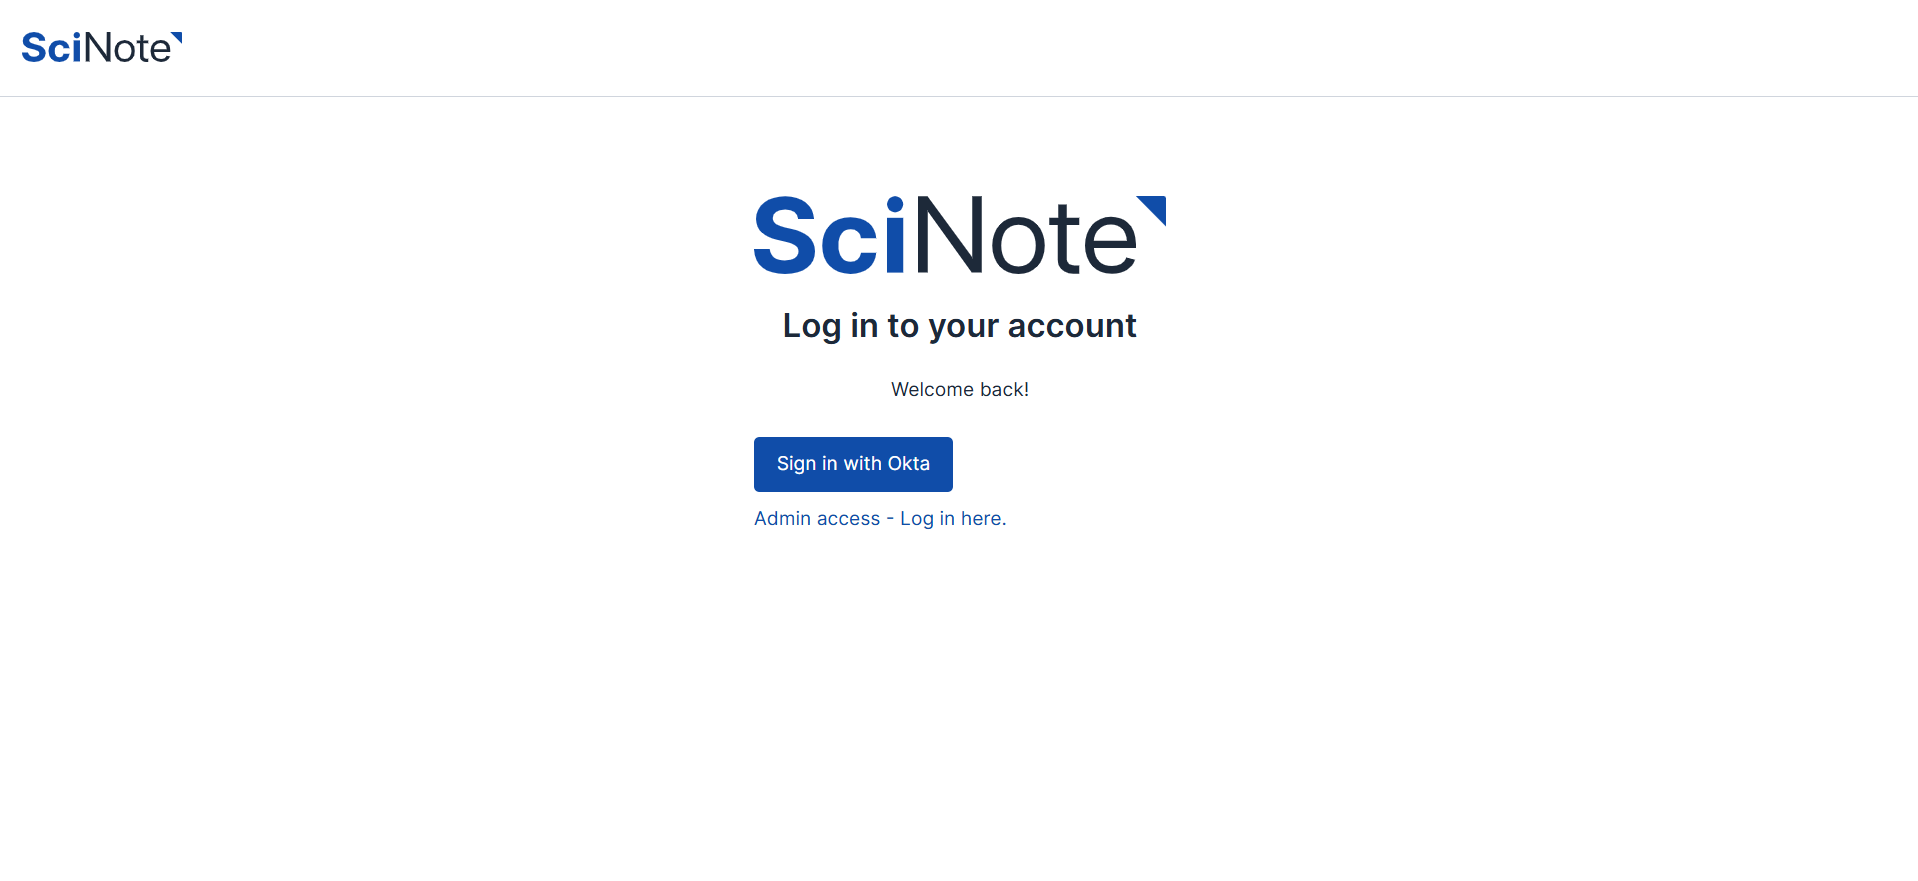
- Save the SSO configuration by clicking 'Save'. Once the SSO configuration is saved and enabled, the additional SSO login option will appear on the login page.

Clicking Reset will clear the current SSO configuration
Creating New Users via SSO
All SSO providers will create a new user record in SciNote if no existing user record is found in SciNote with the same email.
If a new SciNote user record is created via SSO, they will not be given any ELN assignments (like Team, higher user roles/permissions, etc.). Your Org Admins or Team Owners must still assign them to their first Team workspace(s) in SciNote.
SciNote Login Options once SSO is Set Up
Once SSO is enabled and configured, users will have the following login options:
- SciNote username + password
- SSO (multiple SSO options can be enabled and configured if needed)
Disabling the local SciNote credentials (email and password) and login option is still handled by SciNote.
If you'd like to enforce SSO as the only login option and remove the SciNote username and password fields on the login page, please reach out to our support team.
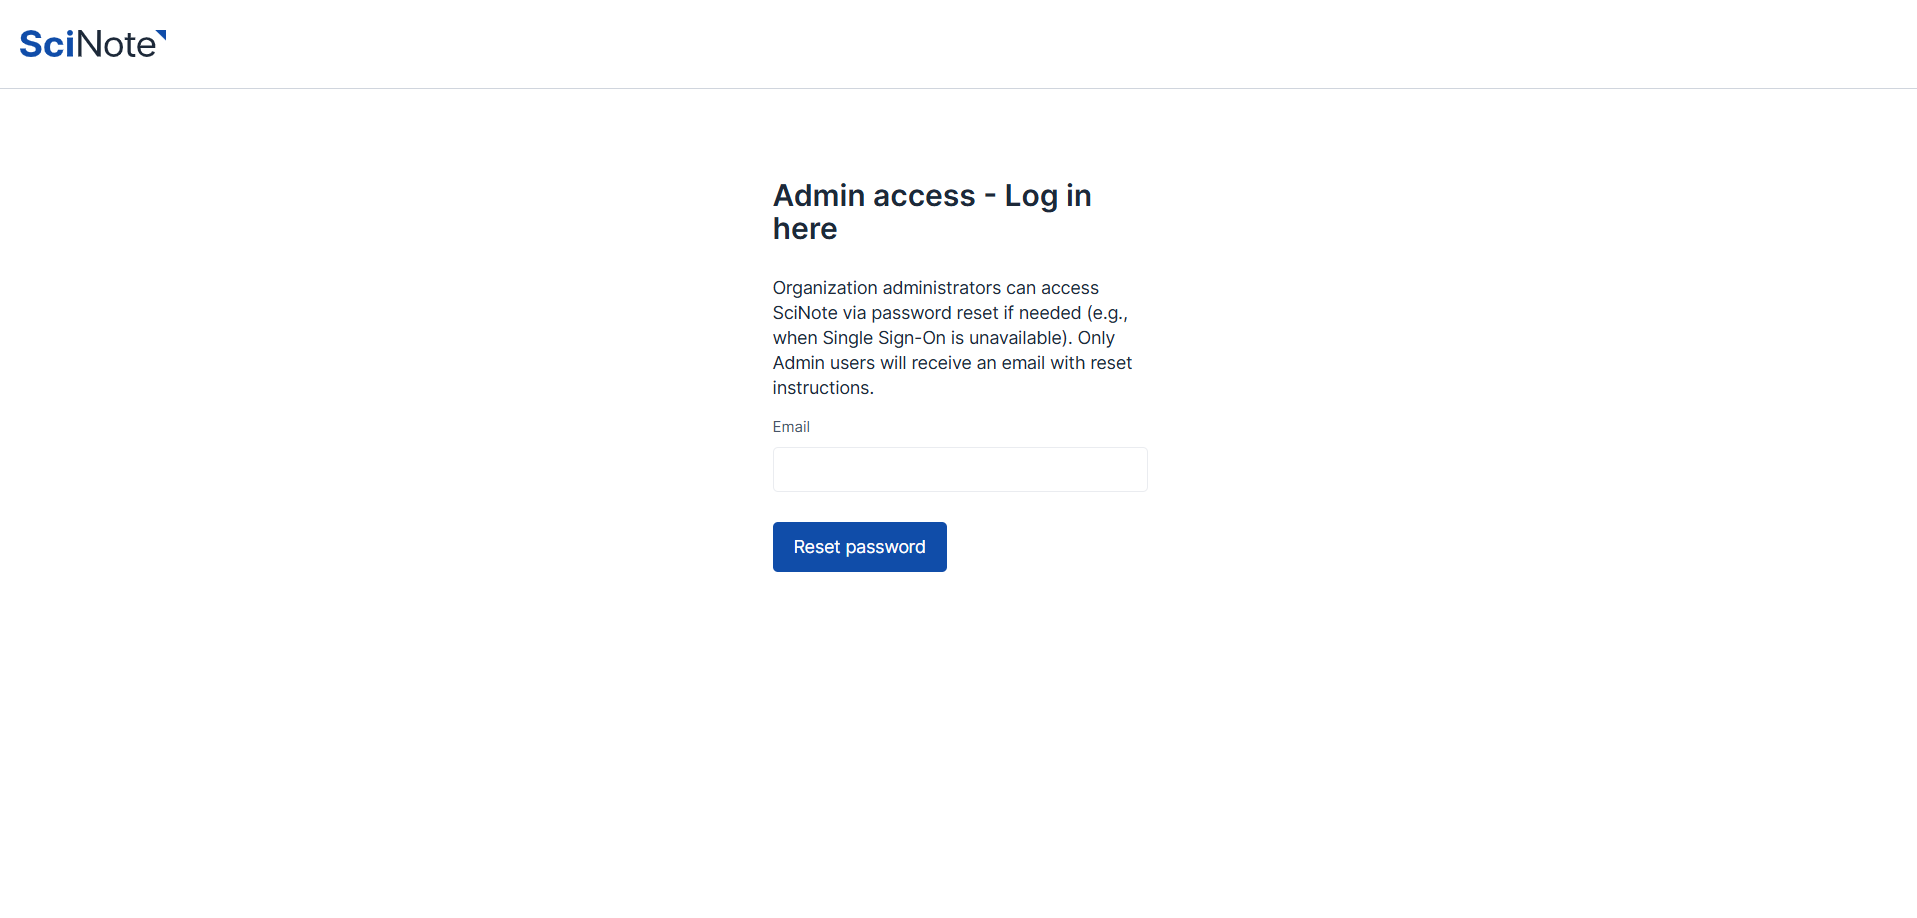
Even if password/email login is disabled for your account, Org Admins still have an 'Admin access – Log in here' option from the login page. This is a backup option in case SSO is down for your single sign-on service provider.
If you have any additional questions, please don't hesitate to contact us at support@scinote.net. For more info about the Premium plans, request a quote.