To Manage Columns:
-
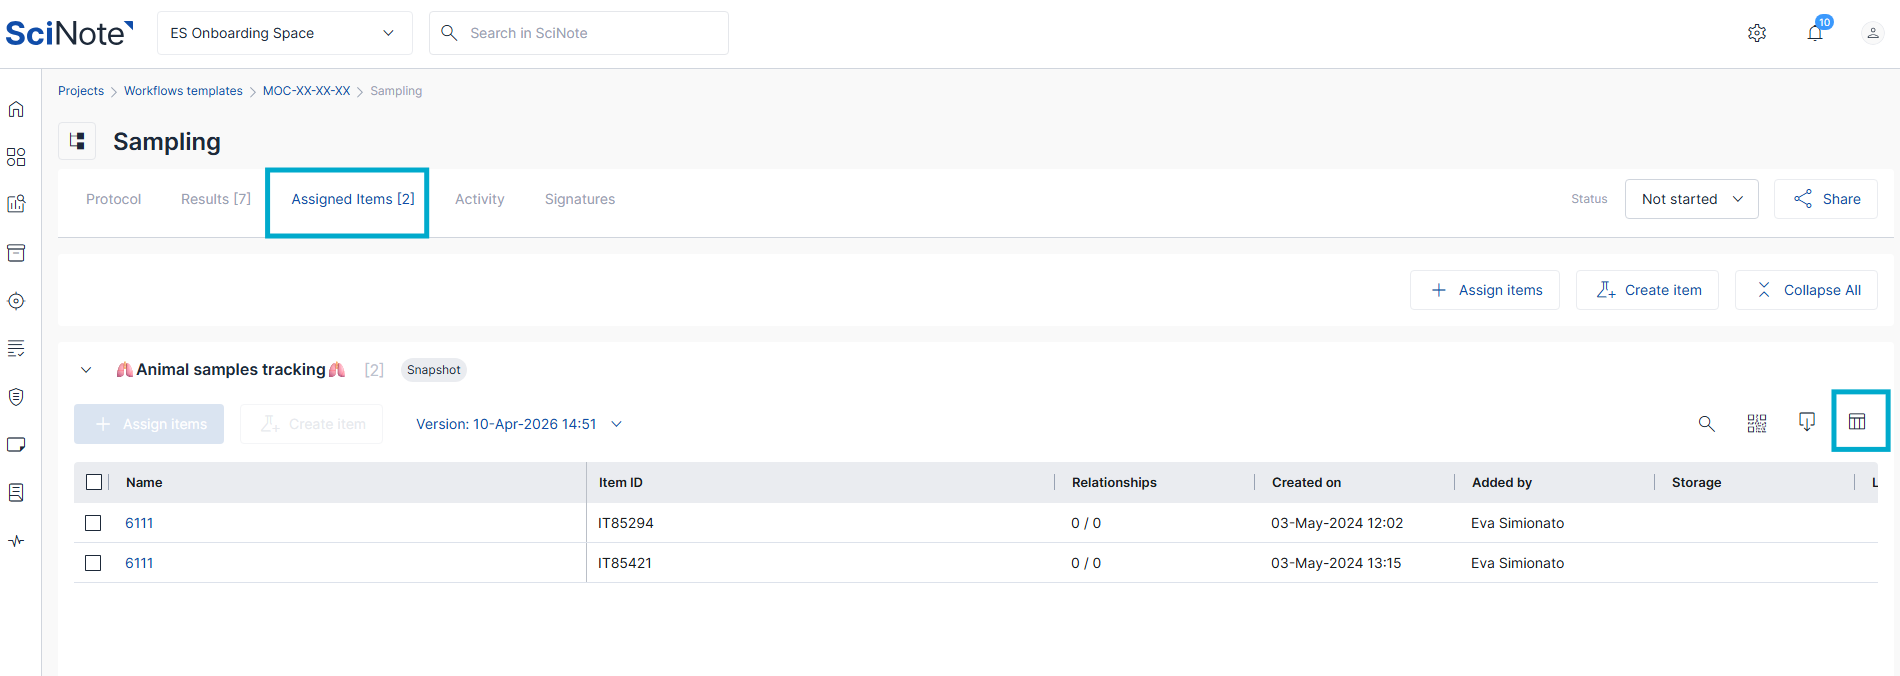
Navigate to the Assigned items tab.
-
Click the Manage columns icon, the last square icon in the table.

-
A pop-up window will appear listing all available columns.
-
To Show/Hide a column: Click the Eye icon next to the column name.
-
An open eye means the column is visible.
-
A slashed eye means the column is hidden.
-
-
To Pin a column: Click the Pin icon on the right side of the column name. Pinning a column ensures it stays fixed on the left side of the table while you scroll horizontally.
-
Click the "X" or outside the pop-up to apply your changes.
To Reset the Table View:
If you have made several changes and wish to return to the original table layout:
-
Open the Manage columns pop-up.
-
Click the Reset to default button at the bottom of the window.
-
This will immediately restore the visibility and order of the columns to the system's standard settings.

Related articles:
-
How to Assign Inventory Items to a Task & Take a Snapshot
If you have any additional questions, contact us at support@scinote.net. For more information about the Premium plans, please request a quote.